True-Shape Layout
Production › True-Shape Layout… lays out many different parts, each in the quantity you want, on as few sheets as they need: each part by its own outline, turned as you allow, small parts tucked into the gaps between large ones and inside their holes. Offcuts and remnants left from earlier jobs can be filled first, and the sheets can be any shape (a hide, stock with cut-outs). The layout opens as a new drawing, a page for each offcut used and each sheet (Offcut 1 (name) …, Sheet 1, Sheet 2 …).
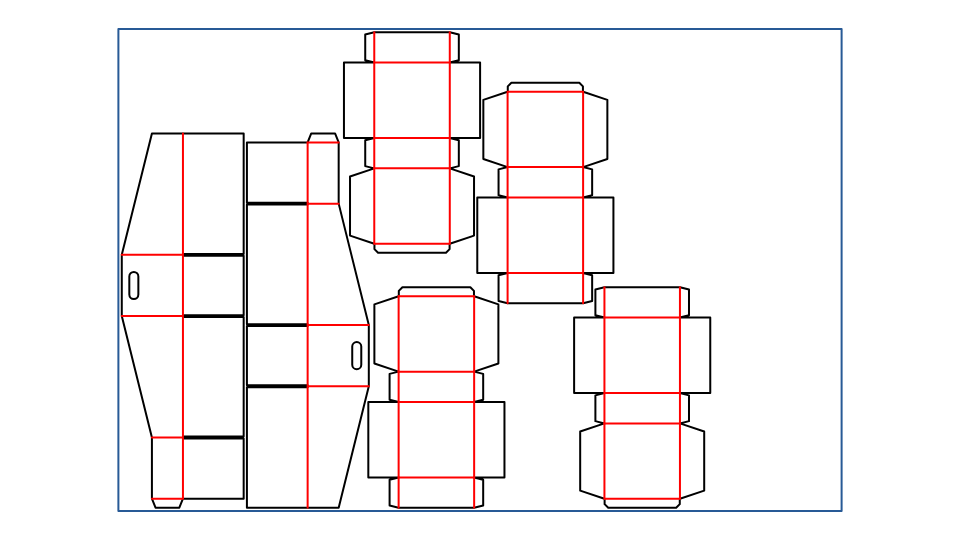
For one part laid out in rows and columns, parametrically, use the Nest Tool instead.
Choosing the parts
- Choose Production › True-Shape Layout… (no drawing needs to be open).
- Click Add Files… and choose the parts: drawing files (.piq) and any vector file the app reads (DXF, DWG, CF2, DDES3, PDF, EPS, Illustrator, SVG, HP-GL, G-code). Choose several at once, or add more later.
- For each part, set how many copies you want (0 leaves it out), and how it may be turned: As the layout (the setting below), or its own way, As drawn or Half turn only, to keep a grain or print direction.
Each file is read as it is added, with a small picture of its outline and its size. A file that can't be laid out (it can't be read, or has nothing in it) says Can't be laid out: point at it to see why.
A part is laid out by its outline: the outside of its cut lines (lines inside it, such as creases, are taken in), with the holes cut in it (windows, hand holes) kept, so small parts can go inside them; if it has no cut lines, the outline of all its lines, without holes. A .piq part is laid out at its own sizes, as it was saved.
Offcuts
Under Offcuts, click Add Offcuts… and choose the files of the remnants you have: drawing files or vector files, each drawn as the outline of the piece of stock. Closed outlines drawn inside it are its holes: parts already cut out, or defects to keep clear of (an island drawn inside a hole is ignored). As for the parts, the cut lines are used if the file has any, otherwise all its lines.
- Set how many pieces of each shape you have: each piece is used at most once (0 leaves it out).
- The offcuts are filled first, in the order listed: a part that needs somewhere new goes on the first unused offcut it fits, and only then on a full sheet.
- Use only the offcuts (no full sheets) lays out on the offcuts alone: copies that don't fit on them are left out and reported, rather than put on new sheets.
The margin and the gap between parts are kept from an offcut's outline and from its holes, as from a sheet's edges.
The sheet and the arrangement
| Setting | Meaning |
|---|---|
| Shape | Rectangle: every sheet the width and height below. Shape from a file: click Choose File… and choose a drawing or vector file whose outline (with its holes) is every full sheet's shape, such as a hide or stock with cut-outs; the parts are laid out in the file's own coordinates. |
| Width, Height | The sheet's size, for a rectangle. |
| Margin | The clear border kept round the sheet's edges. |
| Gap between parts | The gap kept between neighbouring parts: the cutter's or knife's width, or room to strip the waste. |
| Turn parts | How parts may be turned: Any quarter turn, Half turn only, or As drawn. |
| Pack towards | The edge parts are packed against (Left or Bottom): the leftover sheet is a strip on the other side, easy to keep as an offcut. |
| Search | How long to look for a tighter layout: Quick (5 s) to Longest (3 min). |
| Small parts inside large parts' holes | Lets a part go inside another's hole (a window, a hand hole) when it fits with the gap kept all round. |
The settings are kept for next time, separately for millimetre and inch drawings (whether to use only the offcuts too, but not the files chosen).
Laying out
Click Lay Out. The layout is searched for in the background: parts are placed largest first, then their order and turns are varied to find a layout that uses fewer sheets and leaves more of the last sheet free. Stop and Use the Best ends the search early, keeping the best layout found so far.
The new drawing has:
- Each part's drawing kept once, in its library (see PARTDEF), named after its file.
- A page for each offcut used, named after its place in the list and its file (Offcut 1 (hide)), then a page for each full sheet (Sheet 1 …), with the offcut or sheet drawn on the Sheet layer (shown, not plotted or exported) — a rectangle from the corner, or its real outline and holes where the file has them — and the parts placed on it with PART, each on two points: where it goes, and which way it is turned. Move a part's points to adjust it by hand.
- In its Interactive window: each offcut's and sheet's number of parts and how much of it they use, how many of the offcuts were used and which weren't, the totals, and any copies that couldn't be placed (too big for the sheet, as they may be turned, or with only the offcuts, no room left on them).
The drawing isn't saved yet: save it, export it (each sheet a page), or make a die from a sheet.
See also: Nest Tool, Pages, Making a Die, True-Shape Nesting (a free app that marks flaws on hides).