Colour Separation Tool
Use the Colour Separation Tool to ready a design of several vinyl colours, each cut from its own vinyl and laid one on another. Draw each colour on a layer of its own (the layer's colour as the vinyl's); the tool puts the same registration marks on every colour's layer, so the colours line up when they are applied.
Usage
- Select the whole design, every colour of it (click, drag a box round it, or Shift to add).
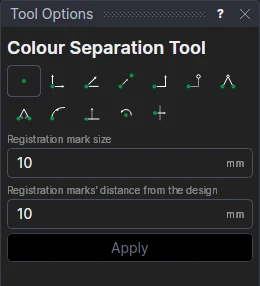
- Fill in the Registration mark size and the Registration marks' distance from the design.
- Click Apply.
Each mark is a cross in a circle, at three corners of the box round the whole design (bottom left, top left and bottom right: the missing corner shows which way round a piece is). They are drawn on every layer the design uses, so each colour's cut carries the same marks. A note on the Dimension layer lists the colours in order.
Cut each colour by itself: export, or plot, one layer at a time (in HPGL each layer is a pen). Then weed each colour, and lay them up on the marks with application tape.
Marks that follow the design
The marks' points are on the design's extent (EXTENTMIN, EXTENTMAX): they move with the design. The size and distance are variables (RMS1, RMO1).
See also: Registration Mark Tool, Tiling Tool, Vinyl cutting.