Pleat Tool
Use the Pleat Tool to mark pleats on a pattern piece, as patterns mark them: a pleat's fold line and its placement line drawn in from the edge, and an arrow from the fold line to the placement line, the way the fold is brought over. Mark one pleat, or a row of them along a skirt's waist. It is a tool of the sewing trade.
Usage
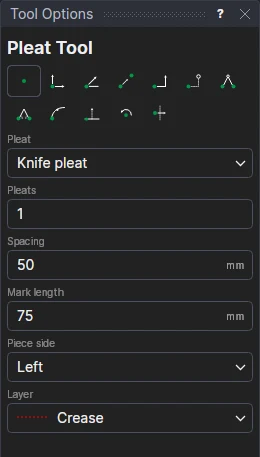
Choose the Pleat:
- Knife Pleat: folded one way, its fold line brought over onto its placement line;
- Inverted Box Pleat: two folded towards each other, their fold lines brought to meet on the placement line between them. A second fold line is marked as far beyond the placement line as the first is before it.
For a box pleat (two pleats folded away from each other), mark two knife pleats, the second from its fold line back towards its placement line.
Fill in the number of Pleats, their Spacing (from one pleat's fold line to the next's) and the Mark Length: how far the lines go in from the edge.
Choose the Piece Side of the edge (going from the fold line to the placement line) and the layer to draw on.
Mark* the pleat's fold line on the edge, then its placement line. The distance between them is the pleat's depth: the fabric each pleat takes up is twice it.
Marks that follow the drawing
The marks are a FOR block on the two points and on new variables: the count (PLN1), the spacing (PLS1) and the mark length (PLL1). Move the placement line's point and every pleat is made deeper or shallower; change the count or the spacing and they are marked again along the edge.
See also: Notch Tool (balance marks), Dart Tool, Grain Line Tool.
*Depending on the chosen snap mode, several clicks may be required to define the point parametrically. Read more about Snap Modes