Stencil Bridges Tool
Use the Stencil Bridges Tool to make a cut-out letter (or any shape) into a stencil: the shapes inside it - its islands, the middle of an O, an A, a B - would fall out when it is cut, so bridges of the stencil are left across the cut to hold them.
Usage
- Draw the letters as closed shapes, each letter's outside and its islands: type the lettering with the Outline Text Tool in a TrueType font and turn it into curves with the Text to Outlines Tool, or bring lettering in as outlines (an SVG or DXF of it, with the Vector Import Tool).
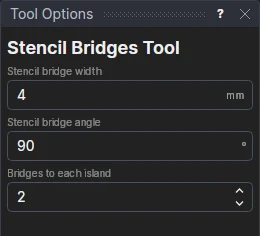
- Fill in the Stencil bridge width and the Stencil bridge angle (90: straight up and down; 0: across).
- Choose the Bridges to each island: 1, or 2 (opposite each other, the usual), or more evenly round.
- Click a letter's outside outline: the islands it would hold are shown as the pointer moves over it.
Each island is joined to the outline by its bridges: the two sides of each bridge are lines from the island to the outline, and the island and the outline are cut where the bridges meet them (the shapes themselves kept on the Construction layer), so the cut goes round each bridge. If the bridges cross one another, use fewer or narrower ones.
Bridges that follow the letter
The bridges are on the letter's shapes (CROSSING) and the width and angle, which are kept in new variables (STBW1, STBA1) the next letters share: change them once for the whole stencil.
See also: Tab Tool, Sign making.