Materials, Measuring and Sections in 3D
A 3D page shows each part in its own material, so a cabinet looks like oak, a worktop like the granite slab it is cut from, a foam insert like foam and a carpet like carpet. On the 3D page you can measure between points on the model, and cut it open with a section to see inside. This page covers those; how a drawing is made 3D is in 3D modes.
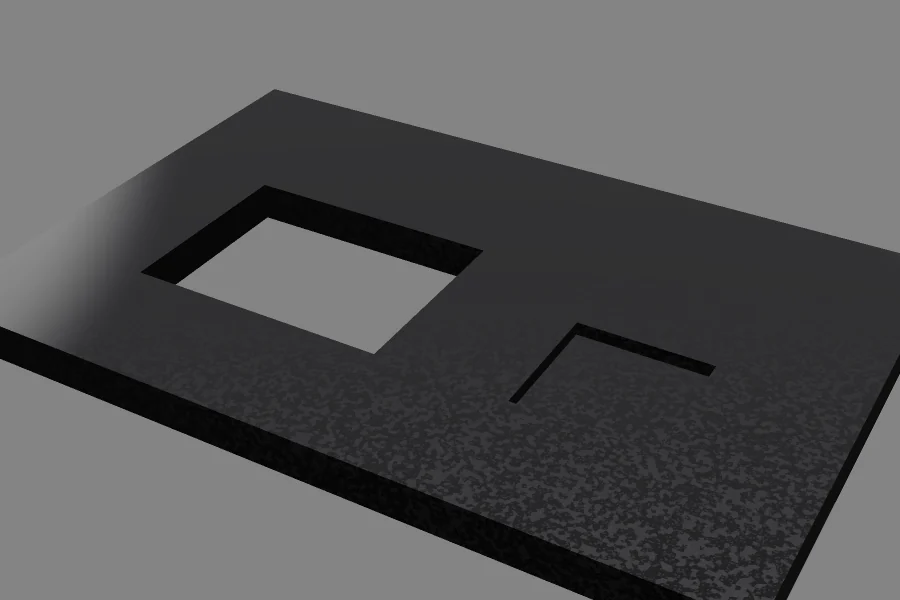
Materials for each trade
The app comes with appearances for every trade it makes 3D:
| Category | Appearances |
|---|---|
| Stone | Carrara, Calacatta, Nero Marquina and Emperador marble (veined); black, Star Galaxy, grey, Kashmir white and Baltic brown granite (grains and flecks); quartz (plain, sparkle, marble look); sintered stone; limestone; slate; travertine |
| Glass | clear float glass (with its green edge), low iron, satin, bronze and grey tinted, back-painted, mirror, picture glass |
| Foam | polyethylene foam in black, grey, blue, red, yellow and white; EVA; open-cell polyurethane; pick-and-pluck; XPS and EPS |
| Wood | oak, white oak, walnut, ash, beech, maple, cherry, pine, spruce, sapele, teak, oak-veneered MDF, melamine; and the plywoods, MDF and chipboard |
| Carpet and flooring | twist, saxony, velvet and berber carpet, carpet tile, wool rug, coir mat, needle-punch, underlay; painted wall (for rooms) |
| Metals, plastics, board | brushed and mirror stainless steel, galvanised (spangle), aluminium, acrylics (clear, tinted, frosted), corrugated and paper board … |
Their textures are made at their real size: wood's grain, marble's veins, granite's crystals, a carpet's pile and brushed metal's lines look right however near you go. Glass and clear acrylic are see-through and tint the shadow they cast.
A material for each layer
The 3D page's own material (3D › Material) is used for everything that doesn't say otherwise. A layer whose
elements are made solid gives them its own with LOOK in its LAYER3D line:
LAYER3D 10,AS="BODY",THICK=18,LOOK="oak"
LAYER3D 11,AS="BODY",THICK=6,Z=18,LOOK="glass-clear",OPACITY=0.3
LOOK is an appearance's id (as the appearances editor shows it) or a material's name
("Walnut"). Follow it with @ and an angle to turn its grain: LOOK="oak@0" runs the grain along x,
LOOK="carpet-twist@45" lays a carpet's pile at 45°. OPACITY (0 clear … 1 solid) makes any material see-through.
Or right-click a part on the 3D page and choose Material of This Layer: the materials by category, and
Automatic (the 3D page's own). It writes the layer's LOOK for you, on the undo history.
Stone from the slab photo
When the drawing has a slab photo (placed with the Slab Photo Tool), the stone pieces show
the slab itself, each the part of the photo its outline lies on, so the veins you matched across a joint or down a
waterfall show matched in 3D. A piece shows the photo when its material is a stone (an appearance in the Stone
category, LOOK="marble-carrara" say); move a piece on the slab and the 3D page shows the new part of it. The edges
show the stone's own colour.
In 3D files
glTF, USDZ, COLLADA, OBJ, the HTML and AR proofs and the 3D PDF carry a material for each material shown, named after it ("Oak outside", "Oak edges"). Wood's grain, marble's veins, granite, carpet pile and the other patterns go in as images on the faces where the format takes images (with the slab photo or artwork over them); see-through materials stay see-through. glTF and USDZ also carry the print finishes (a clear coat for varnish and spot UV, metal for foil, a normal map for embossing) and the board's structure on its cut edges; elsewhere the edges are in their average colour. Programs that read these files show the same materials without the app.
Print finishes
A carton's print finishes show on the 3D page, in proofs, in glTF and USDZ files and in the web viewer, on the outside of the board, where the drawing has them. Draw each as closed outlines (a logo's shape, a panel's area; holes inside an outline are left out) on a layer named for it, as print-ready files name their spot colour separations (see Layers and Bleed, Safe Zones and Spot Colours):
| Layer named (any case) | Shows as |
|---|---|
Spot UV, UV varnish |
A high-gloss clear coat where it is: it catches the light and reflects the studio. |
Varnish, Gloss varnish, Lacquer, Coating |
A gloss clear coat where it is. |
Matt varnish, Matte, Soft touch |
Matt where it is: any gloss under it taken away. |
Foil, Gold foil, Hot foil silver, Cold foil … |
Metal foil in the colour its name says (gold, silver, copper, bronze, rose gold, gunmetal, red, blue, green, purple, black, holographic), else in the layer's print colour. |
Emboss, Blind emboss |
Raised, its edges sloping, so it catches the light. |
Deboss |
Sunk. |
For example:
LAYER 1001,"Spot UV",[200,200,0],SPOT=TRUE
LAYER 1002,"Gold foil",[200,150,0],SPOT=TRUE
These are shown over whatever the appearance itself has (its varnish gloss, its own foil and emboss images). One foil colour is shown: with several foil layers, the first one's. A layer with LAYER3D settings is made solid instead, and isn't a finish.
Cut edges
Where the board is cut, the 3D page shows what is inside it, from its appearance: corrugated board's flutes between their liners (single, double and triple wall, at their flute sizes), honeycomb board's cells between its liners, the plies of plywood, or a core wrapped in paper. Looking along an edge you see into the flutes and cells, darker the deeper. A honeycomb board's cells are cut where the edge is, so a V-cut's sloped groove walls and mitred corners show the cells sliced at an angle. Proofs draw the edges the same way; glTF and USDZ files carry them as a repeating image of the edge seen square on.
A carpet plan as a room
A carpet cut plan (a room's outline with the drops and seams of a Roll Layout, or the L-shaped room cut plan design) shows on a 3D page as the room it is fitted in:
- walls round the outline, 2.4 m high and 100 mm thick (a drawing variable
WALLHsets their height), built first as the slider moves; - the carpet laid on the floor after, the pile's height thick, in the drawing's carpet material (a twist pile if it has none), its pile leaning the way the drops run, so you can see each drop's pile goes the same way;
- each seam a groove across the carpet, where the drops meet.
Look down into it (the 3D page starts from above), or cut the walls away with a section. This is the
ROOM mode: a 3D page uses it when the drawing has seams inside a room outline, or a roll plan (a room one drop
covers has no seam: its largest outline is the room), or when its MODE names it (PAGE "3D","Page 1",MODE="ROOM": then the largest outline is the room, seams or not). A doorway added with the
Doorway Tool leaves the wall open there, with a lintel over it at 2040 mm, and the carpet runs on into it to the
threshold.
Measuring
The bar under the 3D view has Measure: Off, Distance, Angle (also 3D › Measure and Annotate › Measure Distance, 3D › Measure and Annotate › Measure Angle and the 3D page's right-click menu).
- Distance: click two points on the model. The distance between them is shown by the second, with how far apart they are along x, y and z, in the drawing's units.
- Angle: click a point on one side of the angle, its corner, then a point on its other side. The angle at the corner is shown.
Points snap: near a corner of the model the point is taken to the corner (a square), near the middle of an edge to the middle (a diamond), near an edge onto the edge (a ring); elsewhere the point clicked (a dot). The marker under the pointer shows which it will be. Click again to start a new measurement; Esc clears it (and again stops measuring). While measuring, dragging still pans and right-dragging still turns the view.
Sections
Choose a section in the bar under the 3D view (or 3D › Display › Section): across x, y or z (level). The model beyond the section's plane is cut away, and solids show their cut faces flat and hatched in their edge colour, so you can see a pocket's depth, a housing in a carcass or the layers of a foam insert. The slider beside it moves the plane through the model; Other side keeps the other half. Measuring picks only what the section leaves. Choose No section to see it whole again. The section is for looking: exports and proofs show the whole model.
See also
- 3D modes: how a drawing is made 3D, and LAYER3D.
- Appearances: the materials, and making your own.
- Proof images and video: pictures and video of the 3D page, at photo quality.
- Pages › 3D pages: the 3D page, its slider and menus.
- Carpets and flooring, Stone and tile.